Table of Contents
General Overview
Anima Toon is a unique 3D modelling and animation program which allows artists to create and animate beautiful voxel characters easily. Model and animate a 3D character with keyframes using onion skin guides in order to pose characters. Create and save clips of animations to resuse and modify on other characters. The built-in Voxel modeller lets users modify the character to get a desired look and then seamlessly switch back and forth with the animation scene without losing any data. Create infinite varieties of characters (including four legged animals) based on the character templates included along with access to a library of animations and models such as walks, runs, idles, fights etc. Export the 3D animations as .GLTF and .FBX files which can then be imported in popular packages such as Blender, Maya, Unreal Engine and Unity 3D.
Gallery
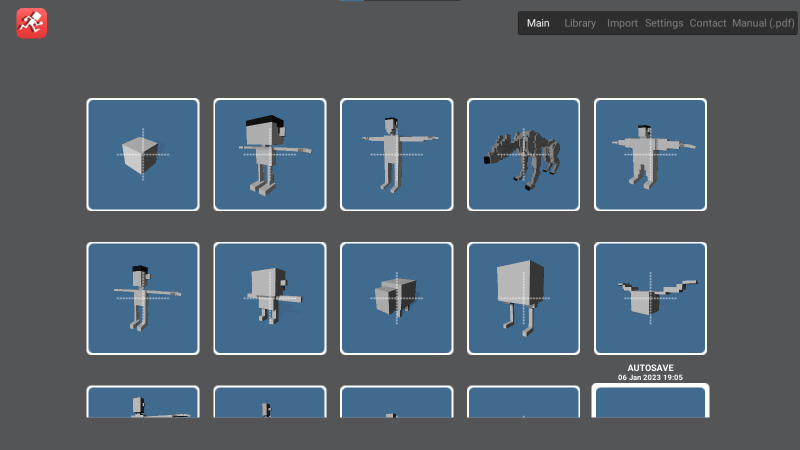
Main contains the template models, and the user's saved data. The user can select any of these and start working on them immediately.

Library also contains the library models, which are a set of custom made models that the user can start working on.
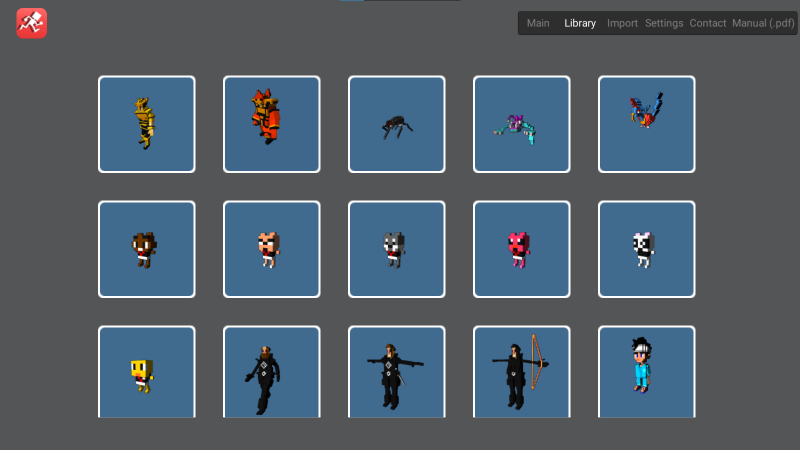
Import button allows the user to import .scn (the custom format for Anima Toon scenes) files and then add them to the main menu so that they can collaborate with other users of the app. For example, one user can make a model on one device that another user can then import and add animation data onto that model on their own device.
Main also contains an Autosave slot that saves the current working scene frequently, so that the user does not lose a lot of progress in case of unforseen circumstances.
Animation Scene
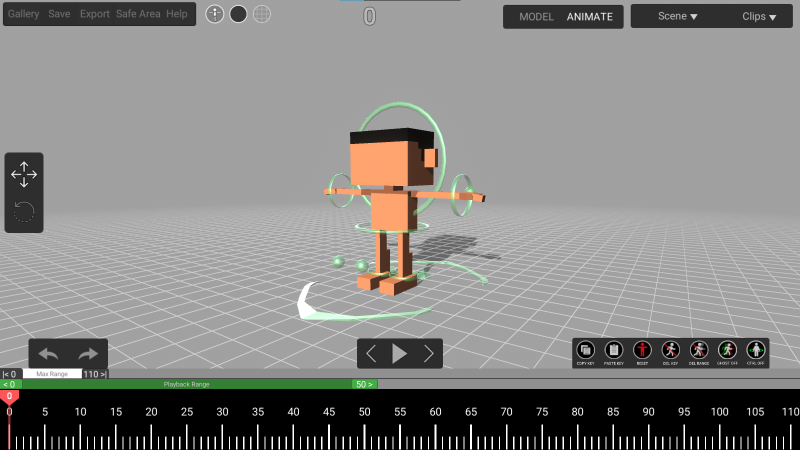
When a save or a template model is loaded, the user is taken into the Scene view which contains only the model that the user selected. The Scene view is where the user creates their animations and updates the models. Users can move around the model freely and view their creations from all angles.
Model Scene
.png)
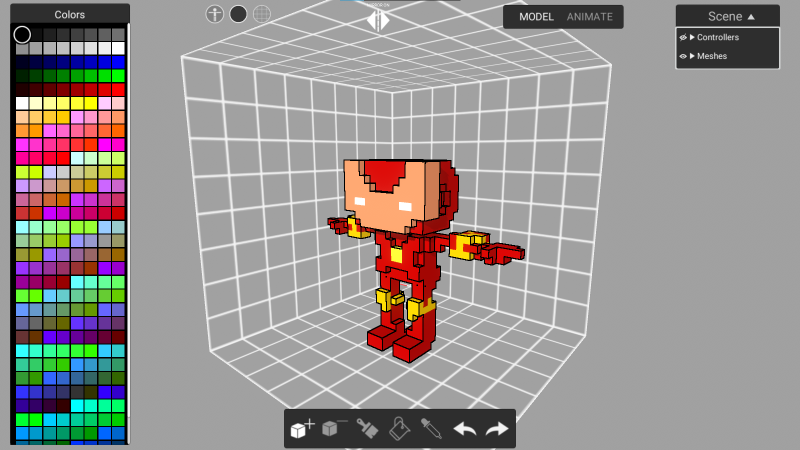
Model Mode allows the user to modify the current model to their liking.
The model can be modifed by adding or removing blocks, or painting them.
Timeline Overview
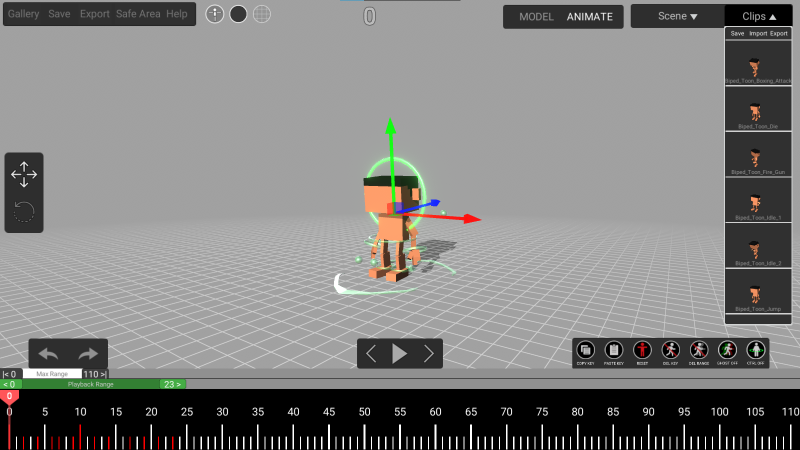
Timeline is a representation of the animation data over time. As a user moves along the timeline from left to right, it shows the model in different poses for that point in time. This is how a user creates animations. By sequentially arranging their poses along the timeline, and by going through it at a fixed rate, the poses come to life.
Animation Overview
Animation mode is where the user creates their animations. This section will cover how the animation mode works in Anima Toon.
Contols
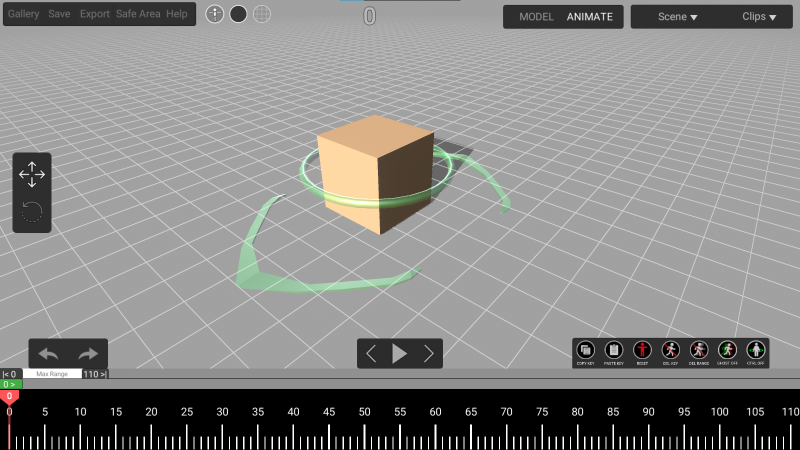
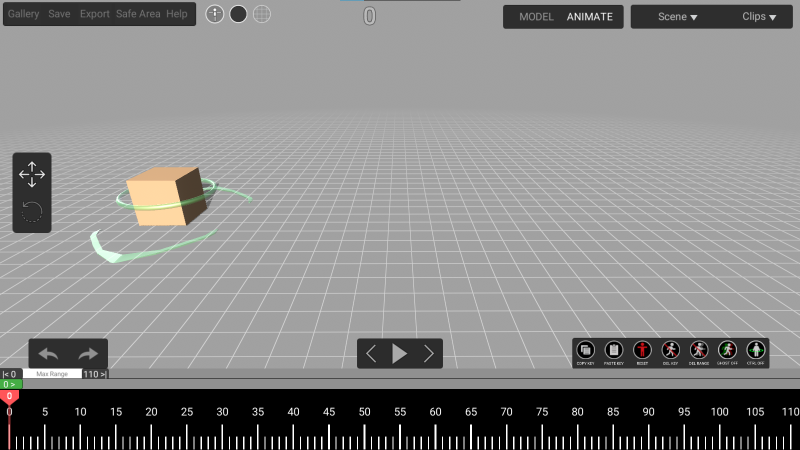
The camera is controlled in the following way:
- Orbit:
- MacOS & PC: Right click and drag
- iOS: Touch and drag with one finger
- Zoom:
- MacOS & PC: Middle mouse scroll to zoom
- iOS: Pintch with two fingers to Zoom
- Pan:
- MacOS & PC: Middle mouse click & drag to Pan
- iOS: Three finger drag to Pan

.png)
.png)
.png)
Key Frames
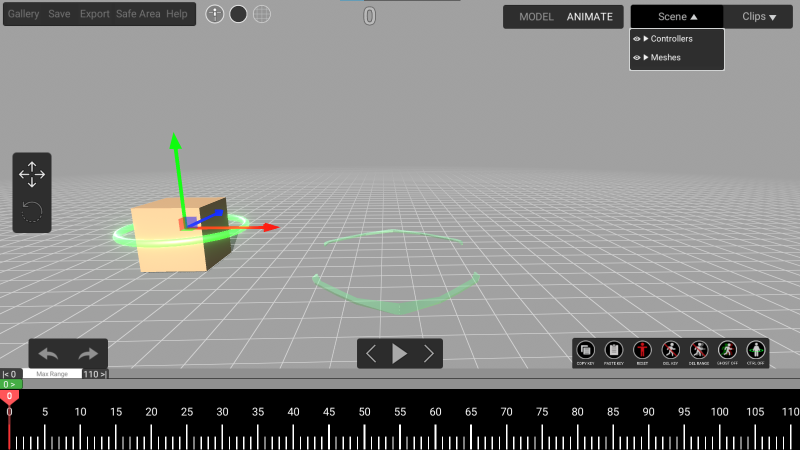
When a Controller on the model is updated, the current position of the controller is saved as a pose in the timeline. This is called a keyframe. It is denoted on the timeline with a red mark. The keyframes are set automatically any time a controller is updated, hence there is no need for the user to press a button to save a keyframe. If the controller is modified on the same timeline position, the keyframe data will be overwritten.

The keyframes are shown only for the selected controllers. For example, if the left hand has keyframes on frames 0 and 10, while the right hand has keyframes on frames 5 and 15, if the controller for the left hand is selected, the timeline will show the keyframes only on 0 and 10.
.png)
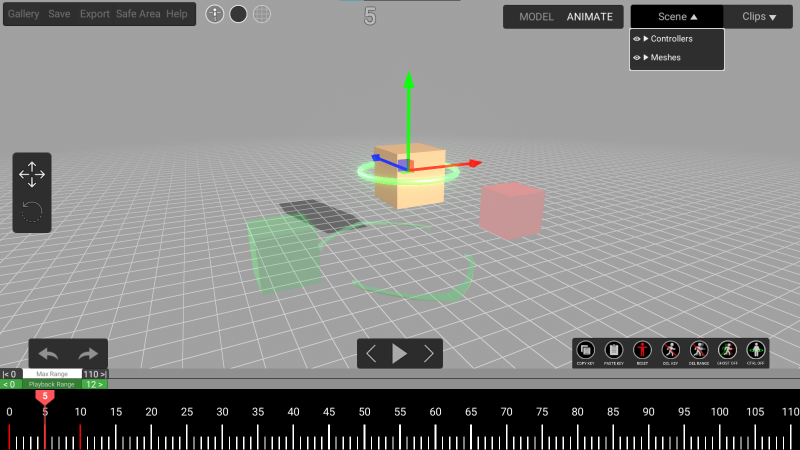
If there are unused frames in between two keyframes, the animation will be interpolated linearly between the keyframes. It will update the unused frames and make a smooth linear transition between the two saved keyframes.
A ghost model of the previous keyframe and next keyframe will be visible on screen. The red ghost model is used to represent the next keyframe, and the green ghost model is used to represent the previous keyframe.
Manipulators
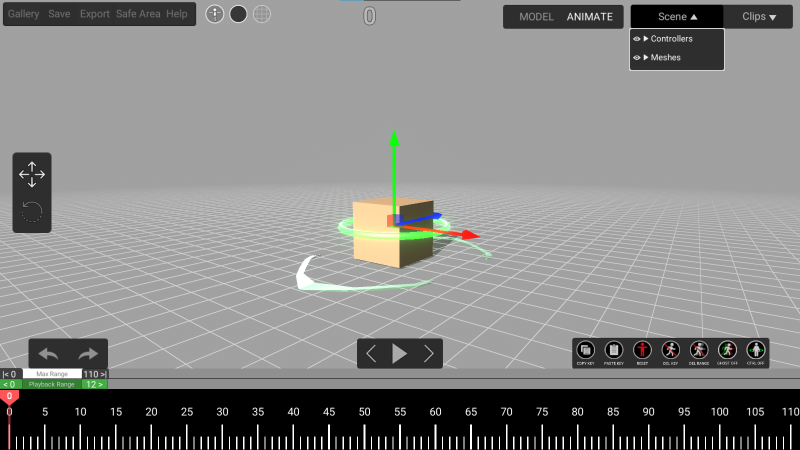
When a controller is selected, a manipulator is shown that allows the user to move or rotate the controller in 3D space with ease.
.png)
Anima Toon uses axis in the following manner:
The manipulator can be switched between Translate mode and Rotate mode.
Translate mode allows the user to move the model in all three axis, and Rotate mode allows the user to rotate the model in all three axes.
Timeline
The timeline shows the animation poses across time. Each white mark is a frame in the animation. When a controller has a position updated, the white mark turns red denoting a saved keyframe.
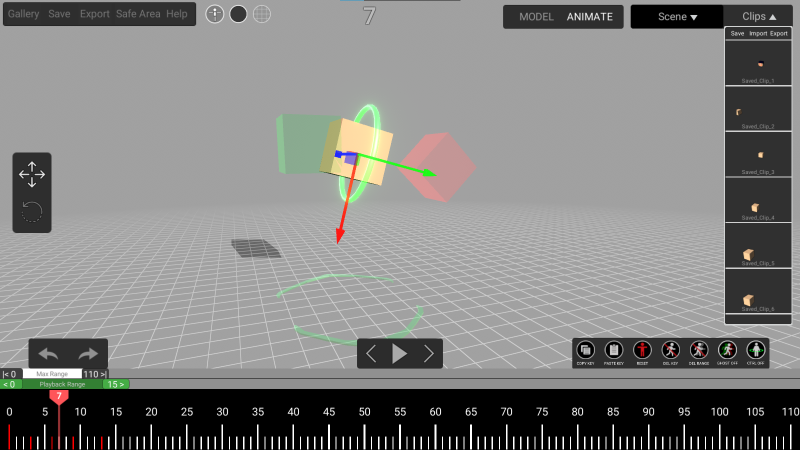
The current frame is shown by the Red cursor, which can be moved around the timeline to show the pose that is saved on that frame.
.png)
The Green bar is the Playback Range. This is the range that will be looped when the play button is pressed. This can be moved by dragging the green handles on either side of the Playback Range slider.
Key Selection
.png)
While the selection is being made, the Highlight is shown as red color, and the selected keyframes are shown in Yellow instead of red.

.png)
Move Selection

.png)
.png)
Copy/Paste Selection

.png)
.png)
The Max Range handle shows the visible frames. It can be expanded to up to 1000 frames. A wide range can be used to block out the animation across a large time period, and a short range can be used for fine control over the animation across a small period of time.

Frame Operations
Frame Operations are above the timeline on the right side

.png) Copy: Copy the single pose of the selected controller at the frame the location the handle is at.
Copy: Copy the single pose of the selected controller at the frame the location the handle is at..png) Paste: Paste the copied data from above into the frame that the handle is at.
Paste: Paste the copied data from above into the frame that the handle is at..png) Reset: Reset the entire animation back to t-pose. This will remove all the keyframes from all the controllers. A confirmation panel will pop up when this button is pressed to prevent accidental reset.
Reset: Reset the entire animation back to t-pose. This will remove all the keyframes from all the controllers. A confirmation panel will pop up when this button is pressed to prevent accidental reset..png) Delete: Delete the keyframe data for the selected controller on the frame that the handle is at. It will then try to interpolate between the keyframes on either side of the deleted keyframe and store that data in its place.
Delete: Delete the keyframe data for the selected controller on the frame that the handle is at. It will then try to interpolate between the keyframes on either side of the deleted keyframe and store that data in its place..png) Delete Range: Delete the all the keyframes in the Playback Range for the selected controller. It will then try to interpolate between the keyframes on either side of the deleted keyframe and store that data in its place.
Delete Range: Delete the all the keyframes in the Playback Range for the selected controller. It will then try to interpolate between the keyframes on either side of the deleted keyframe and store that data in its place..png) Ghost: Toggle the ghost models on or off.
Ghost: Toggle the ghost models on or off..png) Controllers: Toggle the controllers on or off. If a controller is selected before pressing this button, all the other controllers will be toggled on or off leaving the selected one untouched.
Controllers: Toggle the controllers on or off. If a controller is selected before pressing this button, all the other controllers will be toggled on or off leaving the selected one untouched.Animation Clips
Clips are saved animation data that can be reused on the current model type.
When a clip is loaded, it will Replace the animation data that is present in the timeline with the clip that is loaded. It will only replace the animation data, the model and the changes made to it are not affected.
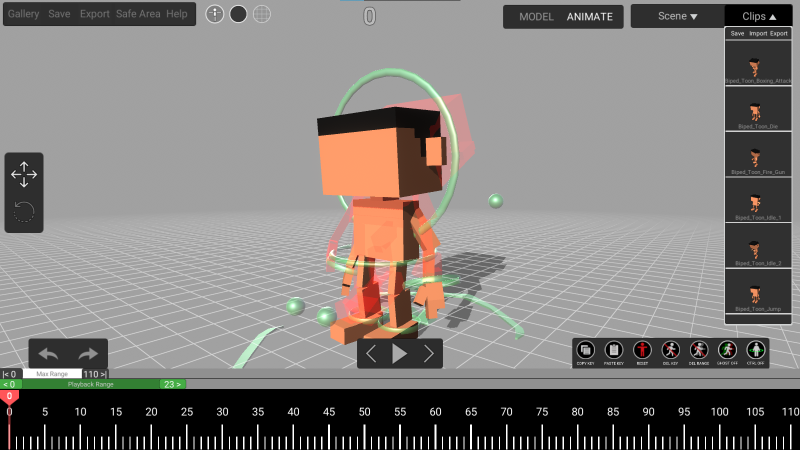
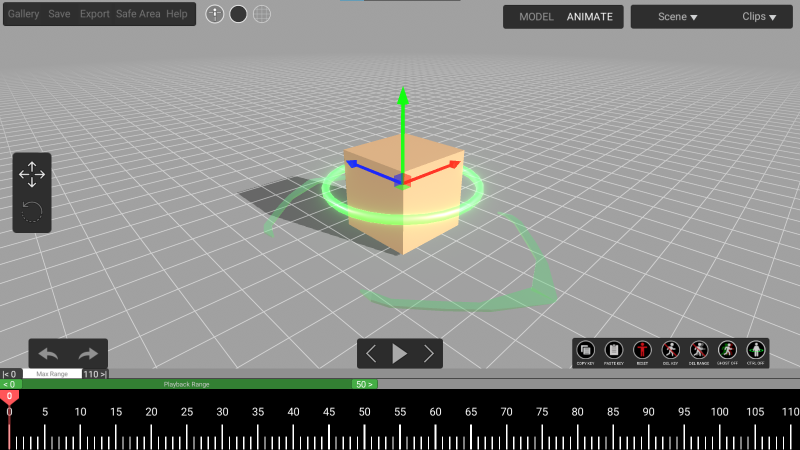
A clip can only work on the model that it was created in. For example, a clip created for the cube, will only work for the cube, it will not work for any biped characters. The clips panel will only show the clips that are compatible with the current model.
.png)
When the clips button is pressed, it opens a list of all the available clips that can be used on the model.
To load a clip, press on the chosen clip and a confirmation panel will pop up. If allowed, the selected clip will overwrite the timeline.
.png)
Clips Operations

File Operations
File operations are on the top left corner of the UI.

Modelling Overview
Model mode is used to customize the model. Users can use the model mode to customize any of the template models to their personal preferences.
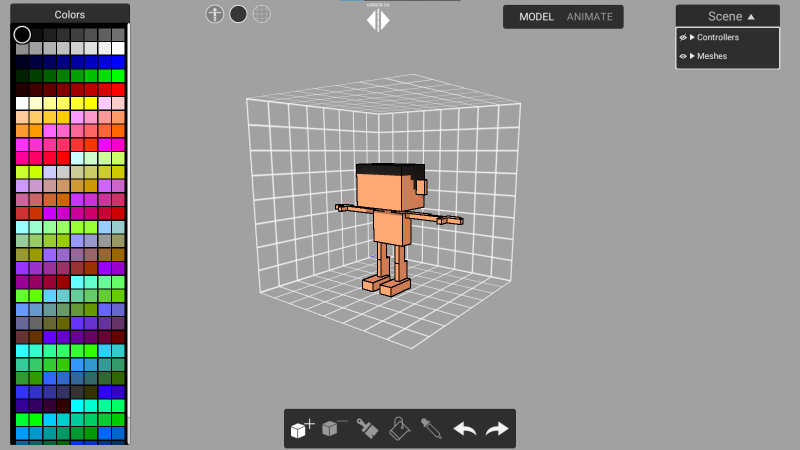
To switch to model mode, press the 'MODEL' button. This will switch the UI into model mode. To switch back to animate mode, press the 'ANIMATE' button.
.png)
When in model mode, the model will be in a t-pose at the default position. The model will also be enclosed within a cube grid. This is the bounds of the model and the user cannot build beyond this grid.

A color panel is provided that allows the user to select a color from the list.
.png)
Modelling Operations
The operations that can be done in the modelling mode are
Rig Overview
The set of interconnected movable parts is called the rig. Each part of the rig can be individually controlled. This section explains the different types of controllers available on different rigs and their functions.
Main Controllers
These are the circluar controllers that are on the rig. They directly control a certain part of the rig. These controllers can be rotated and translated. Some controllers, like hands and feet controllers for the biped, are Inverse Kinematics (IK) controllers (which influence other parts of the body), while others, like the head controller for the biped, are not.
Heel Controller
The Heel controller is only available on the bipeds and is located at the heel of the feet. It is in the shape of a tetrahedron. The heel controller cannot be rotated, it can only be translated in the vertical direction. The heel controller controls the position of the heel with respect to the toes. When the heel controller is moved, it rotates the foot up so that the toes do not move, but the rest of the leg rotates around the toe..png)
Pole Controllers
The Pole controllers are only available for the bipeds and is located behind the elbows and in front of the knees. It is in the shape of a sphere. The pole controllers cannot be rotated, they can only be translated. The pole controllers determine where the elbows and knees will point if the arm or leg is bent. When the hand or foot controller is moved, the elbow and knees get bent. These bent joints will then point to the pole controllers position. One pole controller will only influence one joint. For example, the left elbow pole controller will only influence the left elbow and not any other joints.
.png)
Full Body Controller
The full body controller is present on every rig and is the arrow shaped controller at the bottom of the model. This is used to position and rotate the whole model without affecting any other controller. All other controllers will rotate and translate along with the full body controller.
.png)
Export Overview
The export feature allows the user to export their creations out of Anima Toon for use in other applications. When the export button is pressed, the user is prompted to export the animation in one of three formats.
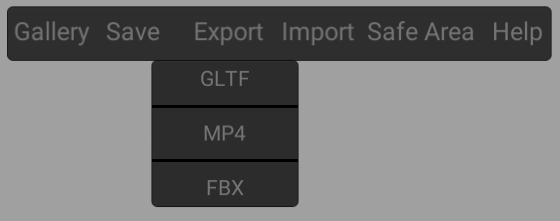
The length of the exported animation will be the Playback Range that the user has defined.
GLTF Export
GlTF (GL Transmission Format) is a royalty-free specification for the efficient transmission and loading of 3D scenes and models by graphics engines and applications. The glTF export will export the current scene as a .gltf file. The .gltf file will contain both the animation and the model data. This can then be used in other applications that support .gltf files (such as Blender, Maya, 3ds Max, Unity 3D etc).
.gif)
MP4 Export
Mp4 export will export the animation as a .mp4 video file. The current view of the animation scene will be played through and encoded into a .mp4 video file. The user is allowed to save this file at the location of their choosing.
.gif)
FBX Export
FBX (Filmbox) is a proprietary file format (.fbx) developed by Kaydara and owned by Autodesk since 2006. It is used to provide interoperability between digital content creation applications.
The FBX export will export the current scene as a .fbx file. The .fbx file will contain both the animation and the model data. This can then be used in other applications that support .fbx files (such as Blender, Maya, 3ds Max, Unity 3D etc).
.gif)
.gif)
Import Overview
The Import feature allows the user to add files into your scene. Click on Imort option to see the list in dropdown.

VOX Import
VOX import let user to add a .vox file into the scene. User can set imported vox file as a background as static element for the model.
.gif)
Audio Import
Import Audio(.mp3/.wav) file to add the background sound to the animation. Audio support till the length of Keyframes, If animation is more than the audio length excess animation will not have the sound.
.gif)